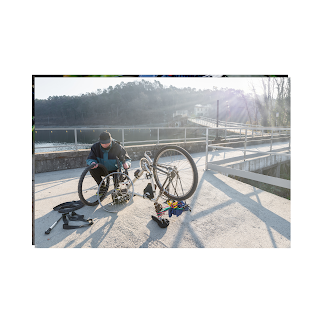
How to Change a Flat Tire on Your Bicycle: A Detailed Guide for Cyclists
The truth is, learning how to change a flat tire is one of the most important skills you can have as a cyclist. It's not a matter of if you'll get a flat tire, but when. So, being prepared and knowing how to handle the situation can save you a lot of time, frustration, and even money.
I am going to put a couple of options for tire changing kits you can purchase at Amazon down below. Some give you tools that include a mini-pump but I prefer using CO2 cartridges. If it really worries you and you have room, carry the pump and the cartridges. I did use up both cartridges I carry one day and could have used a mini pump but I was close to home and just walked home. This is one great reason to carry your phone. I could have called someone to come get me if I was far away. It is rare to have multiple flats. In fact, I average about 800 miles between flats. You can also go to your local bike shop if unsure and they will get you everything you need.
I have moved to tubeless tires and they are even easier to fix a flat when on the road. You don't even have to take the tire off in most situations. I will post an article about the advantages and disadvantages as well as how to fix a flat soon. Look for it.
Here is a detailed guide on how to change a flat tire while out riding your bicycle:
Step 1: Find a safe spot
If you notice your tire is flat, the first thing you want to do is find a safe spot to pull over. Look for a flat, clear area off the road, away from traffic. You don't want to change your tire on a busy road or in an area where you could be hit by a car.
Step 2: Gather your tools
You'll need a few tools to change your tire: a spare tube or patch kit, tire levers, and a pump or CO2 inflator. Make sure you have these tools with you before you go on your ride. It's always a good idea to carry them in a small bag under your saddle.
Step 3: Remove the wheel
Use your tire levers to pry the tire away from the rim on one side. Once you have enough space, use your hands to pull the tire off the rim. Be careful not to damage the tire or inner tube while doing this.
Once the tire is off, remove the inner tube from the tire. If you have a patch kit, locate the puncture on the inner tube and use the patch to repair it. If you have a spare tube, replace the damaged tube with the new one.
Step 4: Reinstall the wheel
Once you have repaired or replaced the tube, it's time to put everything back together. Start by putting one side of the tire back onto the rim, then work your way around the wheel, pushing the tire back onto the rim. Be sure to tuck the inner tube inside the tire as you go.
Once the tire is back on the rim, inflate it with your pump or CO2 inflator. Check the tire pressure to make sure it's within the recommended range for your bike.
Step 5: Double-check everything
Before you start riding again, double-check everything to make sure it's secure. Make sure the tire is properly seated on the rim and the inner tube is not pinched. Spin the wheel to make sure it's running smoothly and the brakes are working correctly.
Congratulations! You've successfully changed a flat tire on your bicycle. With a little bit of practice, you'll be able to do it quickly and confidently, and you won't have to worry about getting stranded on the side of the road.
Changing a flat tire while out riding your bicycle is an essential skill for every cyclist. By following the steps outlined above, you can handle this situation with ease and get back on the road in no time. Don't let the fear of a flat tire hold you back from exploring new routes and enjoying your ride to the fullest.
The first item is this bag full of tools. It has a mini-pump.
I hope you liked this post enough to check out more of my blog. Here is my next blog post: How to Encourage More Women to Take Up Cycling


